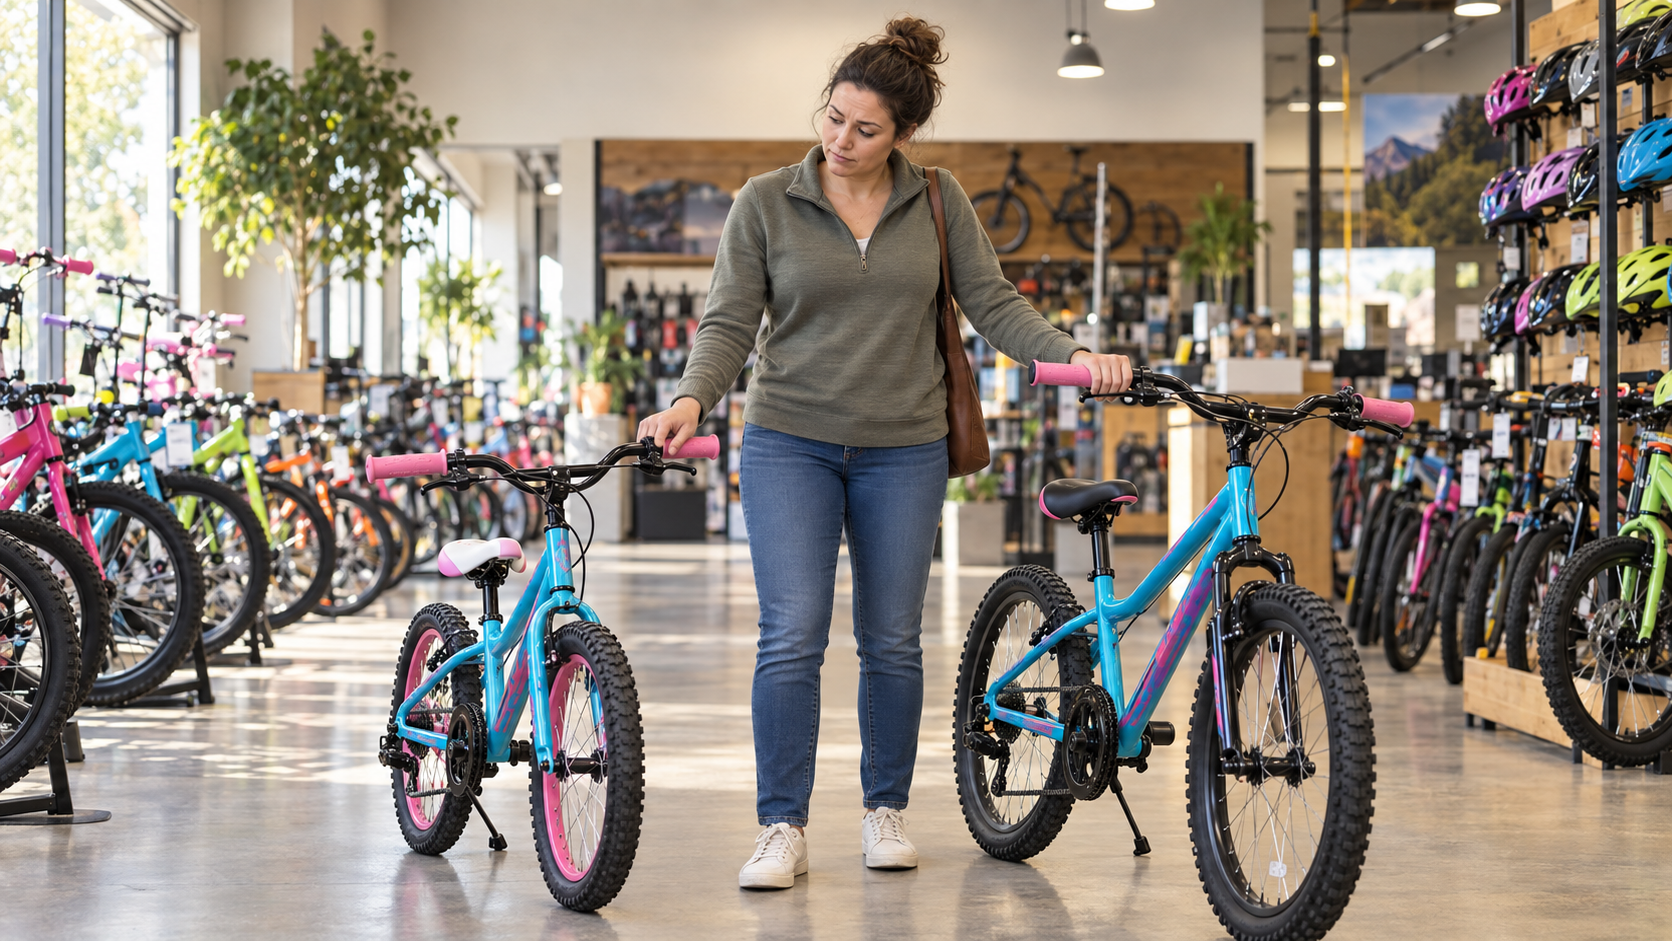
Somewhere between the bike shop and the checkout counter, almost every parent has the same thought: the kids are growing so fast, maybe I should size up so this one lasts. It feels like the responsible choice — get more use out of one bike instead of replacing it in eight months.
But it’s also, for a first bike, usually the wrong call.
The label parents actually shop from
Walk into almost any bike shop or scroll almost any retailer, and the first thing you’re handed is a chart built around age:
- 12″ wheel → ages 2–3
- 16″ wheel → ages 4–6
- 20″ wheel → ages 5–8
- 24″ wheel → ages 8–11
Even Trek, whose own chart this is, doesn’t pretend it’s precise. Their buyer’s guide says plainly that “size brackets are wide and tend to overlap, plus all bikes fit differently — even if they’re the same wheel size.” In other words, that’s the company that makes the chart, telling you not to trust the chart too literally.
Why the label and the child rarely match
Here’s what that overlap looks like in practice. According to REI, “your child could be 5 years old and riding a 12-inch bike or a 20-inch bike, depending on height and leg length.” Same age. An eight-inch spread in wheel diameter. So that’s not a rounding error — it’s close to the entire range a bike shop stocks for the preschool-to-early-elementary years.
A closer look at the overlap
BikeRadar’s own sizing chart shows exactly why: an 18″ wheel is listed for “ages 5+” with a minimum 18″ inseam, while a 20″ wheel is listed for “ages 6+” with a minimum 20″ inseam. As a result, a well-grown 5-and-a-half-year-old can legitimately outgrow the “6+” bracket a year early. As BikeRadar puts it, “the important thing here is the size of the child, not the age.” Two Wheeling Tots, a specialist kids’-bike review site, sees the same inconsistency from the buyer’s side: “one chart might suggest a 16″ bike, while another recommends a 20″ for the same child.”
| Wheel Size | Typical Age Label | Minimum Inseam |
|---|---|---|
| 18″ | Ages 5+ | 18″ (46 cm) |
| 20″ | Ages 6+ | 20″ (52 cm) |
How to read this table: BikeRadar’s own chart. A well-grown 5-year-old can already meet the 20″ bike’s minimum inseam — a full year before the age label says they’re ready for it. That gap is exactly what makes age charts an unreliable starting point.
What this looks like on a chart
Same age, very different bike
How to read this chart: each bar is the official age bracket for that wheel size, straight from Trek’s own buyer’s guide — notice 16″ and 20″ already overlap by a year. The dashed line marks age 5: officially that’s well past the 12″ bracket and already deep into 20″ territory. But the two dots are where REI says real 5-year-olds actually show up — some still sized for a 12″ bike, others already on a 20″. That gap between the two dots is the whole problem with shopping by age.
Measure the child, not the calendar
The fix nearly every serious sizing authority converges on — REI, Guardian Bikes, woom, Consumer Reports — is to stop starting with age and start with the child’s actual body.
Consumer Reports puts it bluntly: “Don’t worry about the wheel size as much as that standover clearance.” Standover is simply the child’s inseam — floor to groin, standing flat-footed — matched against how low a given bike’s saddle and top tube actually sit. For example, REI’s method for measuring it is simple enough to do in the living room: stand the child against a wall, hold a hardcover book spine-up between their legs (it mimics saddle pressure), mark where the spine meets the wall, and measure down to the floor. So that number, not the year on a birth certificate, is what should be walking into the bike shop with you.
Once you’re at the bike itself, Cycle Sprog’s field test adds the safety layer: have the child straddle the top tube with both feet flat on the ground. You want roughly a 2–3 cm gap between their body and the frame — not tiptoes. Check saddle height with one pedal at its lowest point: the knee should be slightly bent, not locked straight, when the foot is flat on the pedal. And check reach to the handlebars: arms should be relaxed and slightly flexed, not stretched forward.
Worth noting, because it’s tempting to reach for a tidier story than the evidence supports: sources don’t fully agree on which single measurement is “the” right one. REI and woom lean on inseam. Schwinn leans on height instead. What they do agree on, without exception, is that age alone isn’t enough.
The guardrail: don’t buy the bike they’ll grow into
This is the part worth pinning to the fridge.
Why this isn’t just about comfort
The American Academy of Pediatrics doesn’t hedge on this one: “Buy a bike that is the right size, not one your child has to ‘grow into.’” And it’s explicit about why this isn’t just a comfort issue — it’s a safety one. Oversized bikes, the AAP says, “are especially dangerous.” Their fit test is concrete: the child should be able to put the balls of both feet on the ground while seated with hands on the bars, have roughly an inch of clearance between the crotch and the top tube when standing over the frame, and be able to comfortably grasp and squeeze the brakes hard enough to actually stop.
Here’s why that specific list of checks matters more than it looks like it should: a first bicycle is a control interface. A child is learning to coordinate steering, balance, braking — and, depending on the bike, pedaling — all at the same time. A bike that’s a size too big doesn’t just feel roomier; it makes every one of those jobs harder. It’s harder to get feet down confidently, harder to balance at low speed, harder to reach the handlebars without stretching, harder to reach and squeeze the brakes, harder to stop predictably, harder to recover when something goes wrong.
In fact, Polygon Bikes describes the visible result: an oversized bike is “harder to steer smoothly and less predictable at low speeds,” and when a bike feels too big and intimidating, kids tend to ride it less rather than push through the discomfort. Cycle Sprog puts it in a comparison every parent will recognize: buying a bike to grow into is like buying oversized shoes. A young child usually can’t articulate why the bike feels wrong — they just say they hate riding.
The trade you’re actually making
The extra size you bought for next year has to be managed by the child this year. So that’s the trade nobody’s making on purpose, but it’s the trade that happens anyway.
So the better rule is: don’t maximize how long the bike will fit. Maximize how well the child can control it now.
There’s a useful piece of context here, and it’s worth being precise about what it proves and what it doesn’t. The one place a formal international safety classification exists for young children’s bicycles — ISO 8098:2023 — draws its category boundary using a physical measurement of the bike itself: maximum saddle height, between 435 and 635 millimeters. Age doesn’t enter into that classification at all. That doesn’t mean the standard is telling anyone to measure a child’s inseam — it’s a safety-requirement classification for manufacturers, not a consumer fitting guide. But it is a small, telling data point: even the one place regulation touches this category, it reaches for a dimension of the bike, not a number on a birthday cake.
How to check it, step by step
| Check | How to Check It | Warning Sign |
|---|---|---|
| Standover clearance | Straddle the top tube, both feet flat on the ground | Less than ~1 inch (2–3 cm) of gap, or standing on tiptoes |
| Saddle height | One pedal at its lowest point, foot flat on the pedal | Knee locked straight, or only the balls of the feet reach |
| Reach to handlebars | Child rides with arms relaxed and slightly bent | Arms stretched forward and locked straight |
| Brake reach | Child grasps the lever from a normal riding grip | Can’t reach it, or can’t squeeze hard enough to actually stop |
How to read this table: the first two rows are Cycle Sprog’s field test; the last two come straight from the AAP’s own fit criteria. They agree almost to the inch.
The four checks, at a glance

How to read this diagram: 1) standover — the gap between the top tube and the child’s body; 2) saddle height — knee slightly bent at the pedal’s lowest point; 3) reach — arms relaxed, not stretched, to the handlebars; 4) brake reach — the lever within easy grasp of a small hand. Same four checks as the table above, just easier to picture on the bike itself.
So what does “control it now” actually mean?
Once you accept the core idea — current size and current ability beat future growth — the next question is what “can control it” looks like for your child specifically. That comes down to three practical checks.
1. How will they actually learn?
If your child hasn’t ridden independently yet, the choice between a balance bike and training wheels isn’t just preference — it’s one of the better-studied questions in this whole topic, and the research points in a consistent direction.
Two studies, same direction
A 2022 study of 2,005 survey responses (Cordovil, Mercê, Branco, Catela & Lopes, published in the International Journal of Environmental Research and Public Health) found that children who learned on a balance bike first reached independent cycling at an average age of 4.16 years, compared with 5.97 years for children who used training wheels and 7.27 years for those who went straight to a traditional bike — all differences statistically significant. It’s a retrospective survey, so it can’t prove causation on its own, and the authors say so themselves.
That’s why a 2025 intervention study matters so much (Mercê, Branco, Catela, Cordovil & Bernardino, Journal of Functional Morphology and Kinesiology). Fifty children who couldn’t yet ride were split into a balance-bike group and a training-wheels group, given six practice sessions, then moved onto a conventional bike. After just two sessions — roughly an hour of practice — 92% of the balance-bike group could ride independently, compared with 44% of the training-wheels group. By the end of the program, it was 100% versus 76.92%. It’s a small study (25 children per group), and the authors are upfront that a bigger sample is needed to generalize — but the direction matches the larger 2022 survey closely enough to take seriously.
The other side of the argument
To be fair to the other side: USA Cycling doesn’t take a hard stance either way, calling both methods “effective and safe,” and notes correctly that “there is also no perfect age for a child to start riding.” That’s a reasonable position for a general audience. But if you’re choosing between the two for a first-time rider and want to know what the comparative research actually shows, it currently favors starting with a balance bike — without that making training wheels “wrong.”
The numbers side by side
| Study | Design | Balance Bike | Training Wheels |
|---|---|---|---|
| Cordovil et al., 2022 (n=2,005) | Retrospective survey | Independent cycling at 4.16 yrs avg. | 5.97 yrs avg. (7.27 yrs for a traditional bike with no aid) |
| Mercê et al., 2025 (n=50, 25/group) | Intervention: 6 sessions, then transition to a conventional bike | 92% independent after 2 sessions; 100% by program end | 44% independent after 2 sessions; 76.92% by program end |
How to read this table: the top row is a large retrospective survey (association, not proof of cause); the bottom row is a small controlled intervention (25 kids per group) pointing the same direction. Two different study designs agreeing is what makes this worth taking seriously despite the small second sample.
How fast each group learned to ride independently
How to read this chart: both groups started unable to ride independently. After just two practice sessions — roughly an hour — 92% of the balance-bike group could ride on their own, compared with 44% of the training-wheels group. By the end of the six-session program the gap narrowed but didn’t close: 100% versus 76.92%. It’s a small study (25 children per group), which is why it matters that the much larger 2022 survey pointed the same direction.
2. Can they actually lift and manage the bike’s weight?
A bike that fits by the numbers can still be a burden if it’s too heavy for the child riding it. Consumer Reports gives a workable rule of thumb: “the bicycle should not tilt the scales at more than a third to about half of your child’s weight.” Cycling UK makes the proportional stakes easy to feel: a 23kg child on an 11.5kg bike is, proportionally, like a 70kg adult riding a 35kg bike. Most adults would find that exhausting to handle.
It’s not just total weight, either. In addition, Cycling UK notes that crank length should be roughly 10% of the child’s height — oversized cranks force the bottom bracket higher and make it harder to plant feet on the ground — and offers a simple brake-lever test: your child should be able to operate the brake using only their little finger or ring finger. If they can’t, the lever’s too big for their hand, regardless of what the frame size says.
| Check | Guideline | Source |
|---|---|---|
| Bike weight vs. child’s weight | No more than ⅓–½ of the child’s body weight | Consumer Reports |
| Crank length | Roughly 10% of the child’s height | Cycling UK |
| Brake lever reach | Operable with just the little or ring finger | Cycling UK |
How to read this table: none of these numbers are laws of physics — they’re practical thresholds from a neutral consumer-testing org and a cycling advocacy group. Use them as a sanity check when two bikes both technically “fit.”
3. Can they actually work the brakes?
This is where the sources genuinely split — but not evenly.
Two pediatric sources vs. one manufacturer
Two independent pediatric sources point the same way. The AAP recommends foot (coaster) brakes for a first bike, because “your children’s hand muscles and coordination are not mature enough to control hand brakes.” Stanford Children’s Health’s patient guide cites the same conclusion from the nonprofit International Bicycle Fund: “most children younger than 5 don’t have the strength or coordination to use hand brakes,” and recommends a bike with both a coaster brake and a hand brake as the natural next step. US federal regulation backs this up with actual teeth: bikes classified as “sidewalk bicycles” (seat height 25 inches or less) are required to have a foot brake once the seat is adjustable to 22 inches or higher.
But one manufacturer disagrees
On the other side is woom, a premium kids’-bike brand that argues coaster brakes are outdated: they only brake the rear wheel, a child’s foot can be caught mid-pedal-stroke exactly when they need to stop, and the natural back-pedaling kids do for balance can trigger accidental braking. It’s a real, detailed argument — but it’s worth knowing that woom is also the party that petitioned the CPSC to revoke the foot-brake requirement for sidewalk bicycles. This isn’t two neutral camps disagreeing; it’s two pediatric health sources and a federal regulation on one side, and one manufacturer with a commercial stake in hand-brake-equipped bikes making the counter-case.
Instead, Consumer Reports, which has no stake either way, doesn’t take a side on brake type at all — its practical standard is that lever reach should be adjusted so a small hand can grab it easily, “which is critical for safety,” and it applies the identical standard to gear shifters: “as with brakes, your child needs to be able to easily operate” the controls. That’s probably the most useful takeaway for most parents: don’t pick a braking system off a spec sheet. Watch your child actually try to use it.
Who says what, at a glance
| Source | Type | Position |
|---|---|---|
| American Academy of Pediatrics | Independent pediatric authority | Foot brakes for a first bike — hands/coordination aren’t ready |
| Stanford Children’s Health (citing Int’l Bicycle Fund) | Independent pediatric source | Same conclusion, under-5s specifically |
| CPSC / 16 CFR 1512 | US federal regulation | Foot brake legally required above 22″ seat height |
| woom | Manufacturer (petitioned CPSC to drop the rule) | Hand brakes are actually better, even young |
How to read this table: three rows (green-striped) are independent pediatric/regulatory sources pointing the same way; the fourth (in a different shade) is the one manufacturer disputing them, with a commercial stake in the outcome. That’s not “experts disagree” — it’s worth reading the row on that basis.
Putting it together
None of this adds up to a single number you can write down before you walk into a store — and that’s kind of the point. Start with age and wheel size as a rough range. Then measure height and inseam. Check the bike’s actual seat-height range. Have your child stand over it. Check reach. Make sure they can operate the brakes. Consider the bike’s weight relative to their body weight. And if they haven’t learned to ride independently yet, think about the learning method before assuming training wheels are automatically the next step. Only after those questions should you ask whether the bike has enough adjustment room to last as your child grows.
| Step | Ask | Based On |
|---|---|---|
| 1. Size | What’s the child’s actual inseam/standover fit — not their age? | REI, Consumer Reports, Cycle Sprog |
| 2. Guardrail | Would this be a stretch to “grow into” rather than a fit for today? | AAP |
| 3. Learning method | Has the child ridden independently before? | Cordovil 2022, Mercê 2025 |
| 4. Weight | Is the bike roughly ⅓–½ of the child’s body weight or less? | Consumer Reports, Cycling UK |
| 5. Brakes | Can the child actually operate the brakes — not just reach them? | AAP, Stanford/IBF, CPSC |
How to read this table: it’s the whole article compressed into five questions, in the order to ask them — size and control first, “how long will it last” only after that.
The bigger picture
That reverses the usual shopping logic. Instead of asking how big a bike can I buy without it being obviously too big?, ask what bike gives my child the most control now — with reasonable room to adjust later?
Size up later, when they’ve outgrown this one. Don’t size up now, on a guess about who they’ll be in a year.
It’s understandable to want more life out of a kids’ bike — children grow fast, bikes aren’t cheap, and a larger model sitting one row over can look like the smarter purchase. But a first bike isn’t there to survive the maximum number of growth spurts; it’s there to help a child learn to ride. A bike that technically lasts three years but feels intimidating for the first one hasn’t necessarily saved you anything.
The age printed on a sizing chart can point you toward the right aisle. But it can’t tell you whether your child can put a foot down confidently, reach the brakes, manage the bike’s weight, or recover when they lose balance. Those are things you have to measure and watch.
So the question isn’t “how long will this bike fit?” It’s “can my child control this bike today?” For a first bike, the best room for growth starts with a bike that already fits.
Sources
- Trek Kids Buyer’s Guide
- REI: The Ultimate Guide to Buying a Kids’ Bike
- REI: Best Kids’ Bikes
- Guardian Bikes: Kids Bike Sizing Guide
- Two Wheeling Tots: Kids Bike Sizes Guide
- woom: Kids & Toddler Bike Sizing Guide
- Schwinn: Guide to Kids Bike Sizes and Height
- BikeRadar: Bike Sizes for Kids
- Consumer Reports: How to Shop for a Bike for Your Kid
- Cycle Sprog: Is My Kid’s Bike Too Big or Too Small?
- Bike Test Reviews: What Is Standover Height?
- HealthyChildren/AAP: Choosing the Right Size Bicycle
- HealthyChildren/AAP: Bicycle Safety Myths and Facts
- Polygon Bikes: Should You Buy a Bigger Kids Bike?
- ISO 8098:2023 scope
- Cordovil, Mercê, Branco, Catela & Lopes (2022), Int. J. Environ. Res. Public Health 19(3):1814
- Mercê, Branco, Catela, Cordovil & Bernardino (2025), J. Functional Morphology and Kinesiology 10(1):53
- USA Cycling: Balance Bike vs. Training Wheels
- Cycling UK: Buying a Children’s Bike
- Stanford Children’s Health: Buying a Bike for Your Child
- CPSC: Bicycle Requirements Business Guidance
- woom: Coaster Brakes — A No-Go for Children’s Bikes
